Item Legacy Media · Walkthrough
Collections & Items
Follow create a collection, save the item, choose a collectible template and related collection tasks.
4:29 · English
Published October 26, 2026
Narrated with a local synthetic voice. Demonstrated with fictional inventory in an isolated local Item Legacy app. On-screen QR codes point to that local demo, rather than a production item link. Current application screenshots illustrate the updated workflows; clicks are not recorded in those regions.
English captions available in the player controls.
Read transcriptRead the transcript
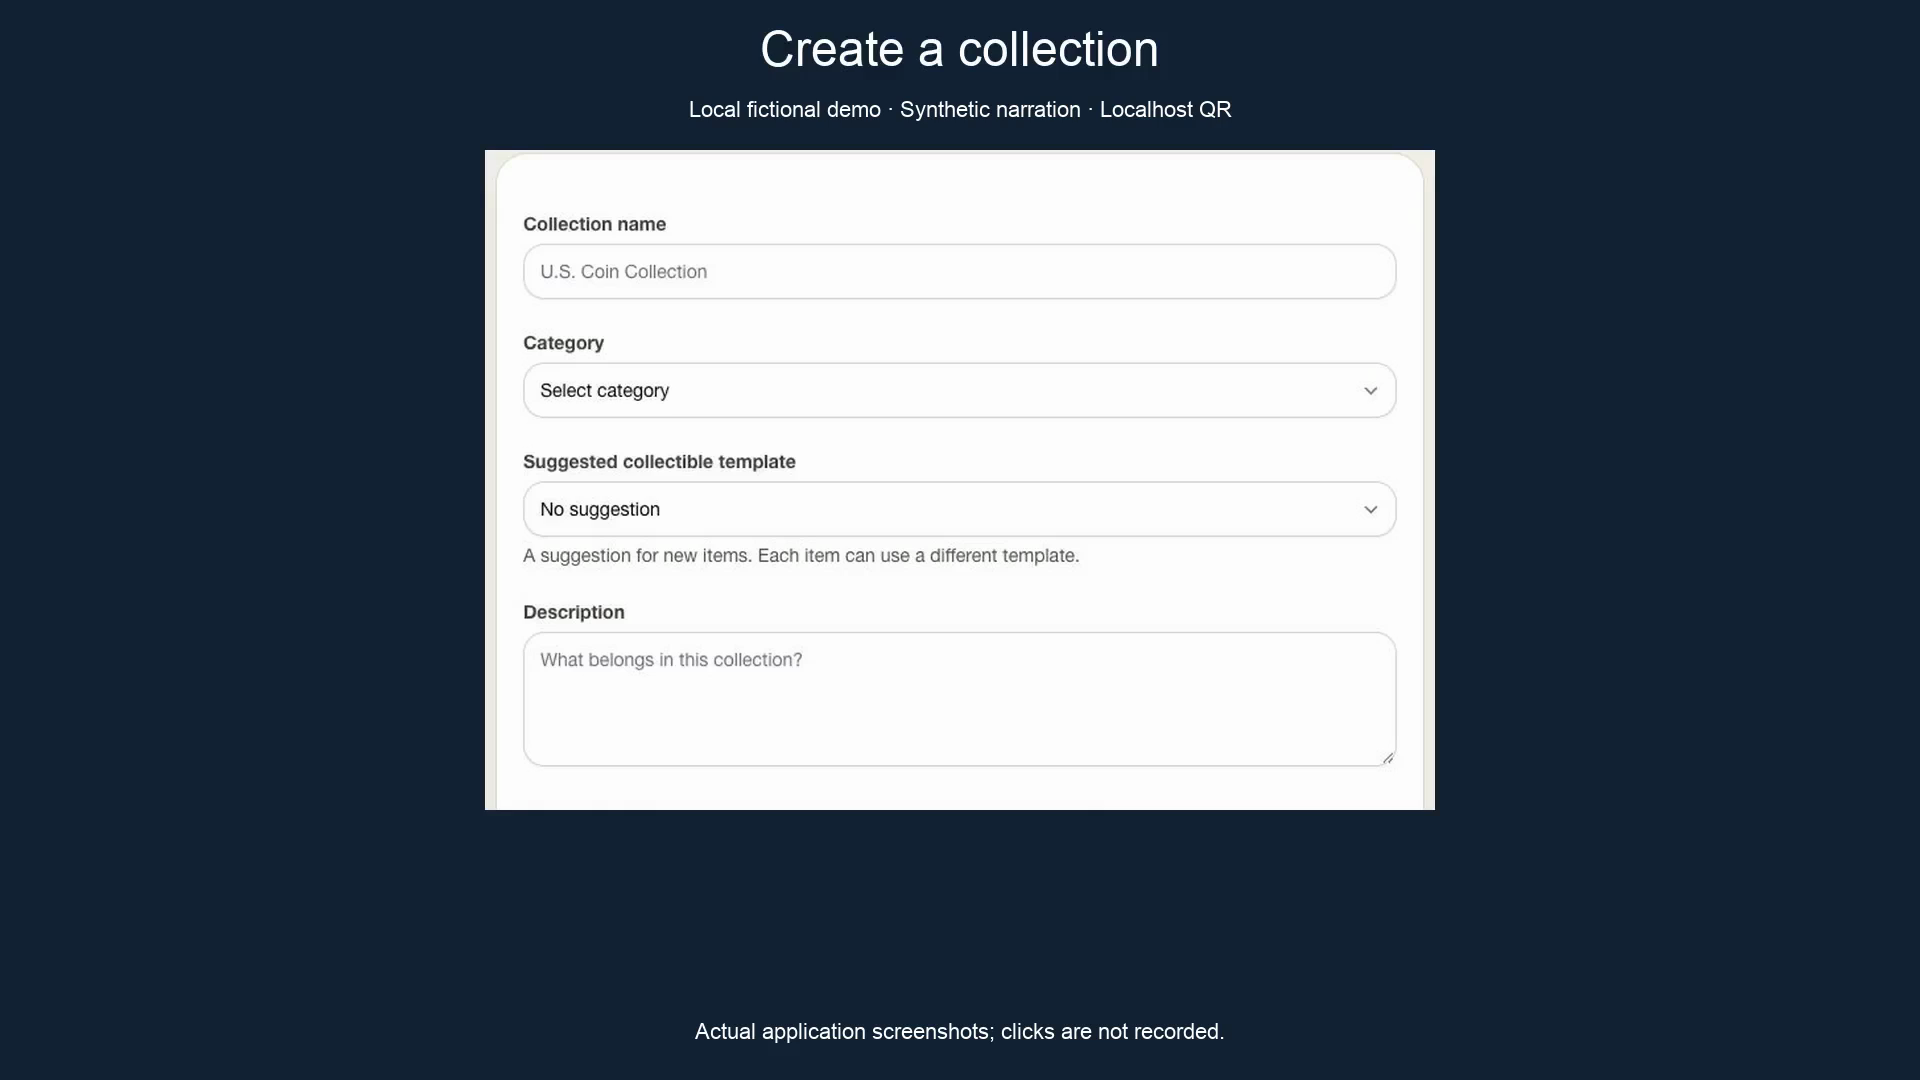
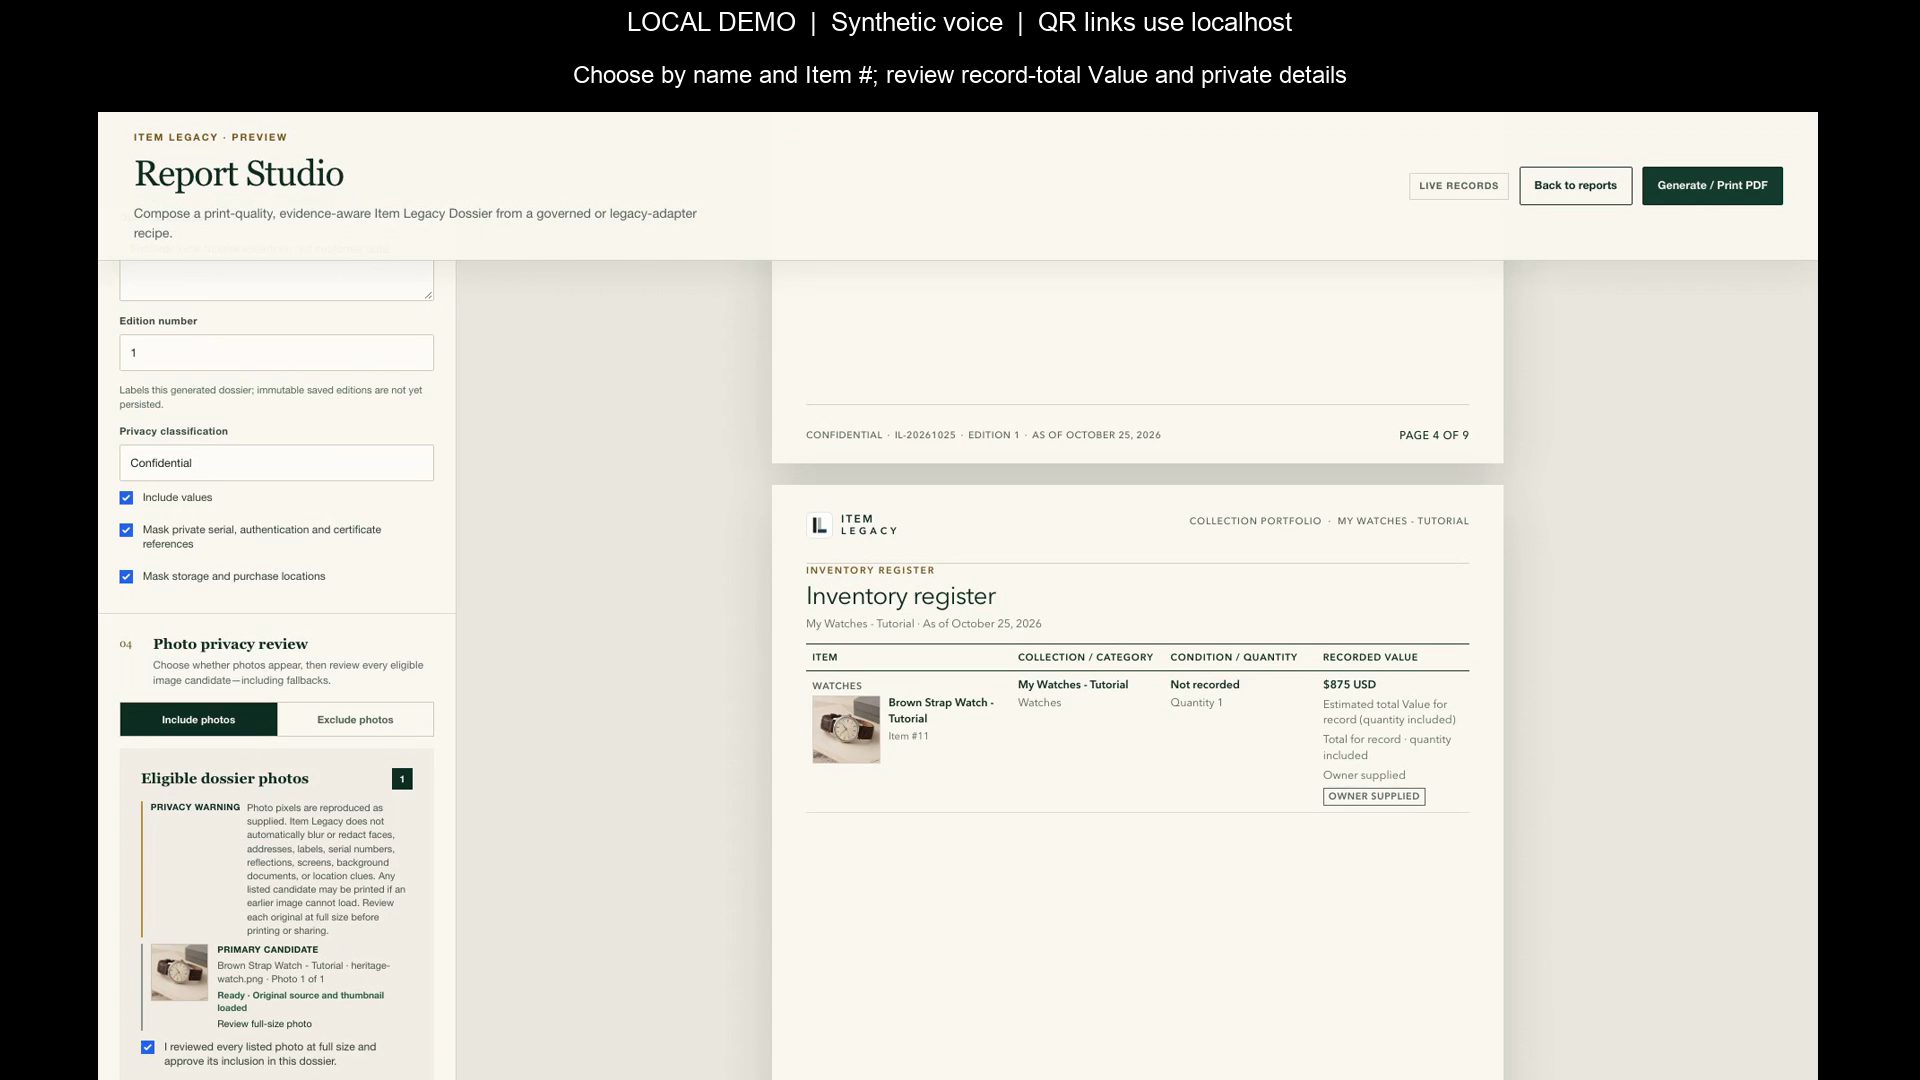
Open Collections and choose New collection. If the list is empty, choose Create collection. Give the group a clear name, then submit Create collection. A collection groups related objects; each item holds its own details. From the saved collection, choose Add item, or use Add Item in the navigation. Enter a clear item name, check the collection and quantity, and add the details you know. Keep Purchase cost separate from Current estimated value, or Estimated total record value for an active template that uses record-total value. Read the valuation guidance for the active template. Save, then reopen the record to confirm the values you entered. Use Collectible template to choose General Item or a specialist template. The fields shown first are useful starting points; every specialized field is optional. Relevant details and Recommended Details adapt to the entries you make. Open Show More Collectible Details, or Show More Banknote Details, for the rest. For a watch, begin with Brand, Model, Reference Number, Watch Type, Movement Type, Production Year and Authentication Status when known. Add optional case measurements, strap details and sourced service history. For example, describe a manual-wind dress watch and attach an owner service note clearly identified as an owner account. When changing a saved template, read the preservation notice, then choose Use template and keep details if it is the change you intend. Previous entries remain available for review; photos, documents and value history stay attached. Previously entered details are retained history, not current template attributes. Review any value-basis warning before adopting a template. Saving a new item assigns a number within your account, displayed with a hash sign, such as number twelve. Ordinary edits keep that number. Deleting an item can make its number available for another item. The displayed number is separate from the UUID in the private item address; it is not a permanent global identity. With Collector or higher, open an item and choose Print Label. You can include Item number, Item name / title, Short description, Collection name, and Set name(s); the private QR is always included. For an item assigned to several sets, choose all assigned set names or one saved assignment. Choose 1-inch sticker for a 25.4-millimeter square, 2-inch sticker for a 50.8-millimeter square, or Cardstock for 88.9 by 50.8 millimeters. A larger size gives text more room. Review the preview after each change. Review the preview and reduce the fields or increase the size if they do not fit. Choose Download PDF to save the individual label, or Open PDF to review it. This export places one label on a Letter page, with cut marks and a calibration ruler outside the label. For several items, select them in All Items or use Add by item numbers, then choose Print labels. Save every PDF part before clearing ready PDFs. The sheet layouts use US Letter paper: 80 one-inch labels, 20 two-inch labels, or 10 cardstock labels on a full sheet. Use full-sheet adhesive or cardstock and cut on the guides. These layouts are not aligned to pre-cut label templates. Collections have their own labels, starting with the collection name. Set labels can include the name, description, parent collection, and reference or catalog number, with one to 400 copies. Set item labels include assigned items, excluding empty requirements and suggested matches. Printing leaves your records and item numbers unchanged. Item, collection, and set labels each open their own existing private page. Scanning still requires sign-in and access. Printing leaves your item numbers unchanged. Those numbers belong to your account and may be reused after deletion. Renaming a collection or set keeps its QR destination; deleting it makes that destination unavailable. Deleting an item makes its old private link unavailable. A reused item number does not redirect that old link. A QR label does not verify the object’s authenticity. Print at Actual Size or 100 percent and turn Fit to Page off. Check the 50-millimeter ruler, then test one label and scan it while signed in before printing more. Check the text, cut guides, and destination on your own equipment. Confirm that the scan opens the intended saved record before printing a larger batch. Return to the same saved item when you learn more. Update sourced details and review the saved result. Use the current Customer Guide for instructions and available plans. Begin with what you know, and keep a record you can maintain.
More ways to watch · 3 editions
Collections & Items · Short overview
Follow create a collection.
Narrated with a local synthetic voice. Demonstrated with fictional inventory in an isolated local Item Legacy app. On-screen QR codes point to that local demo, rather than a production item link. Current application screenshots illustrate the updated workflows; clicks are not recorded in those regions.
Read this edition’s transcript
Open Collections and choose New collection. If the list is empty, choose Create collection. Give the group a clear name, then submit Create collection. A collection groups related objects; each item holds its own details. From the saved collection, choose Add item, or use Add Item in the navigation.